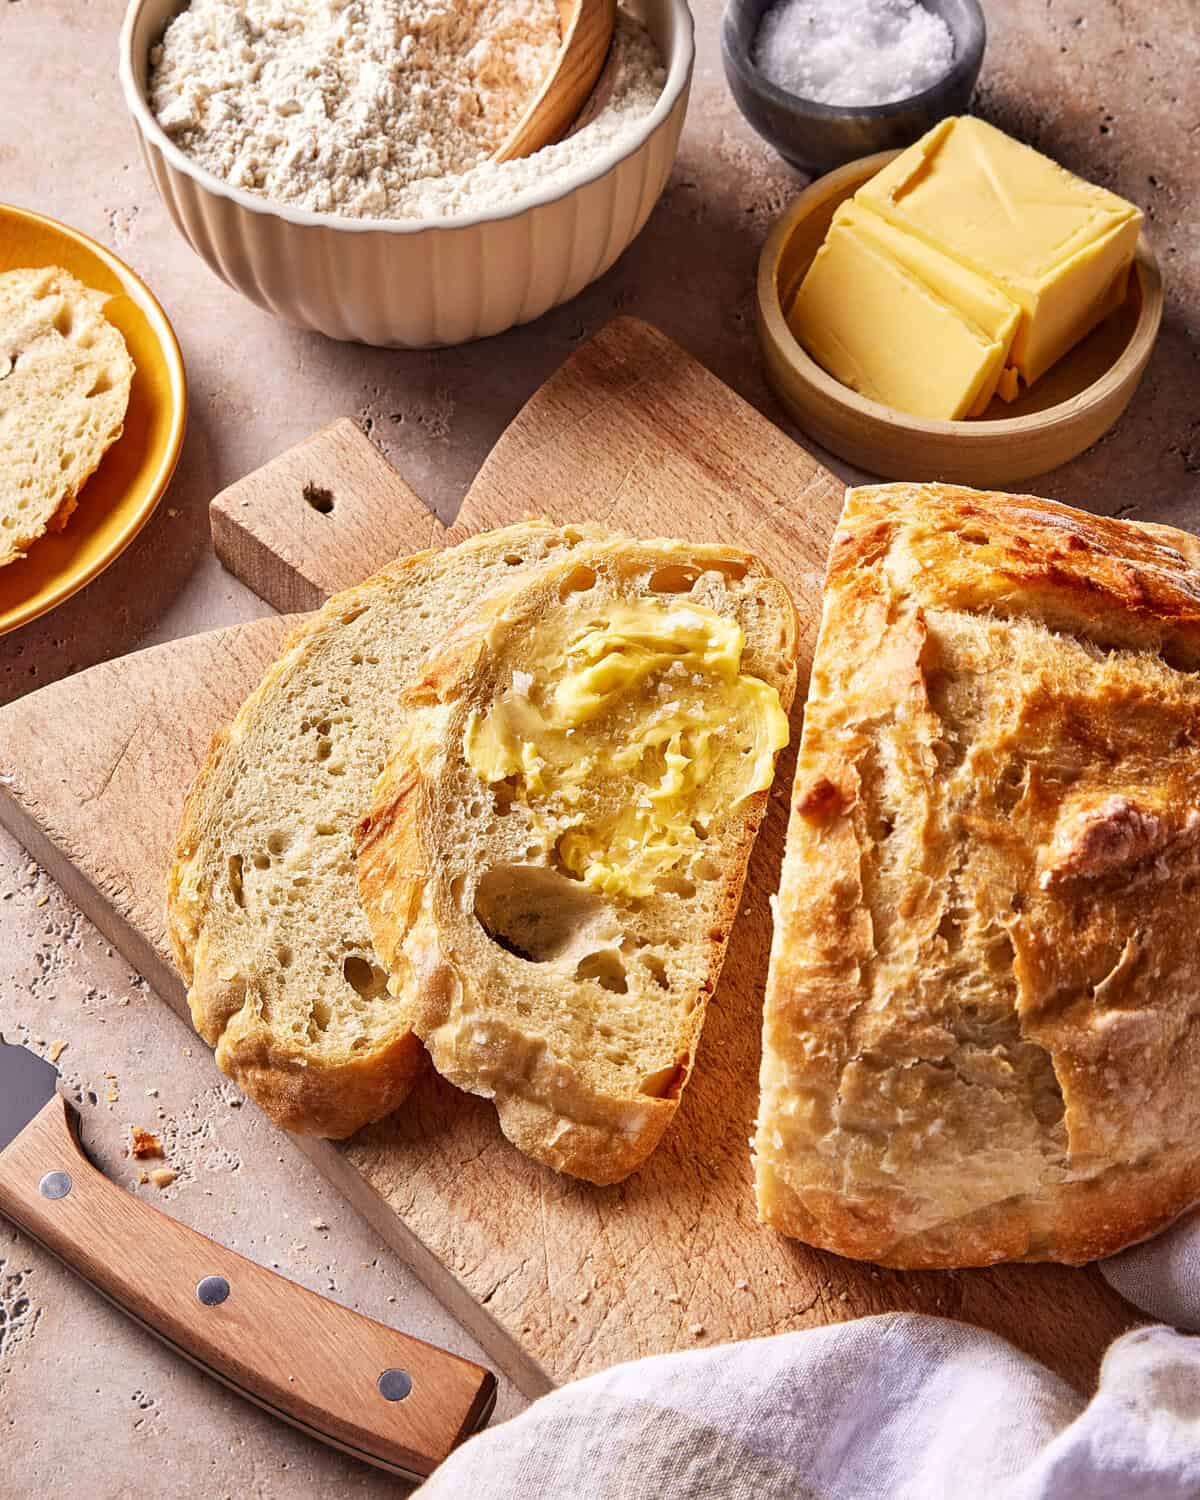
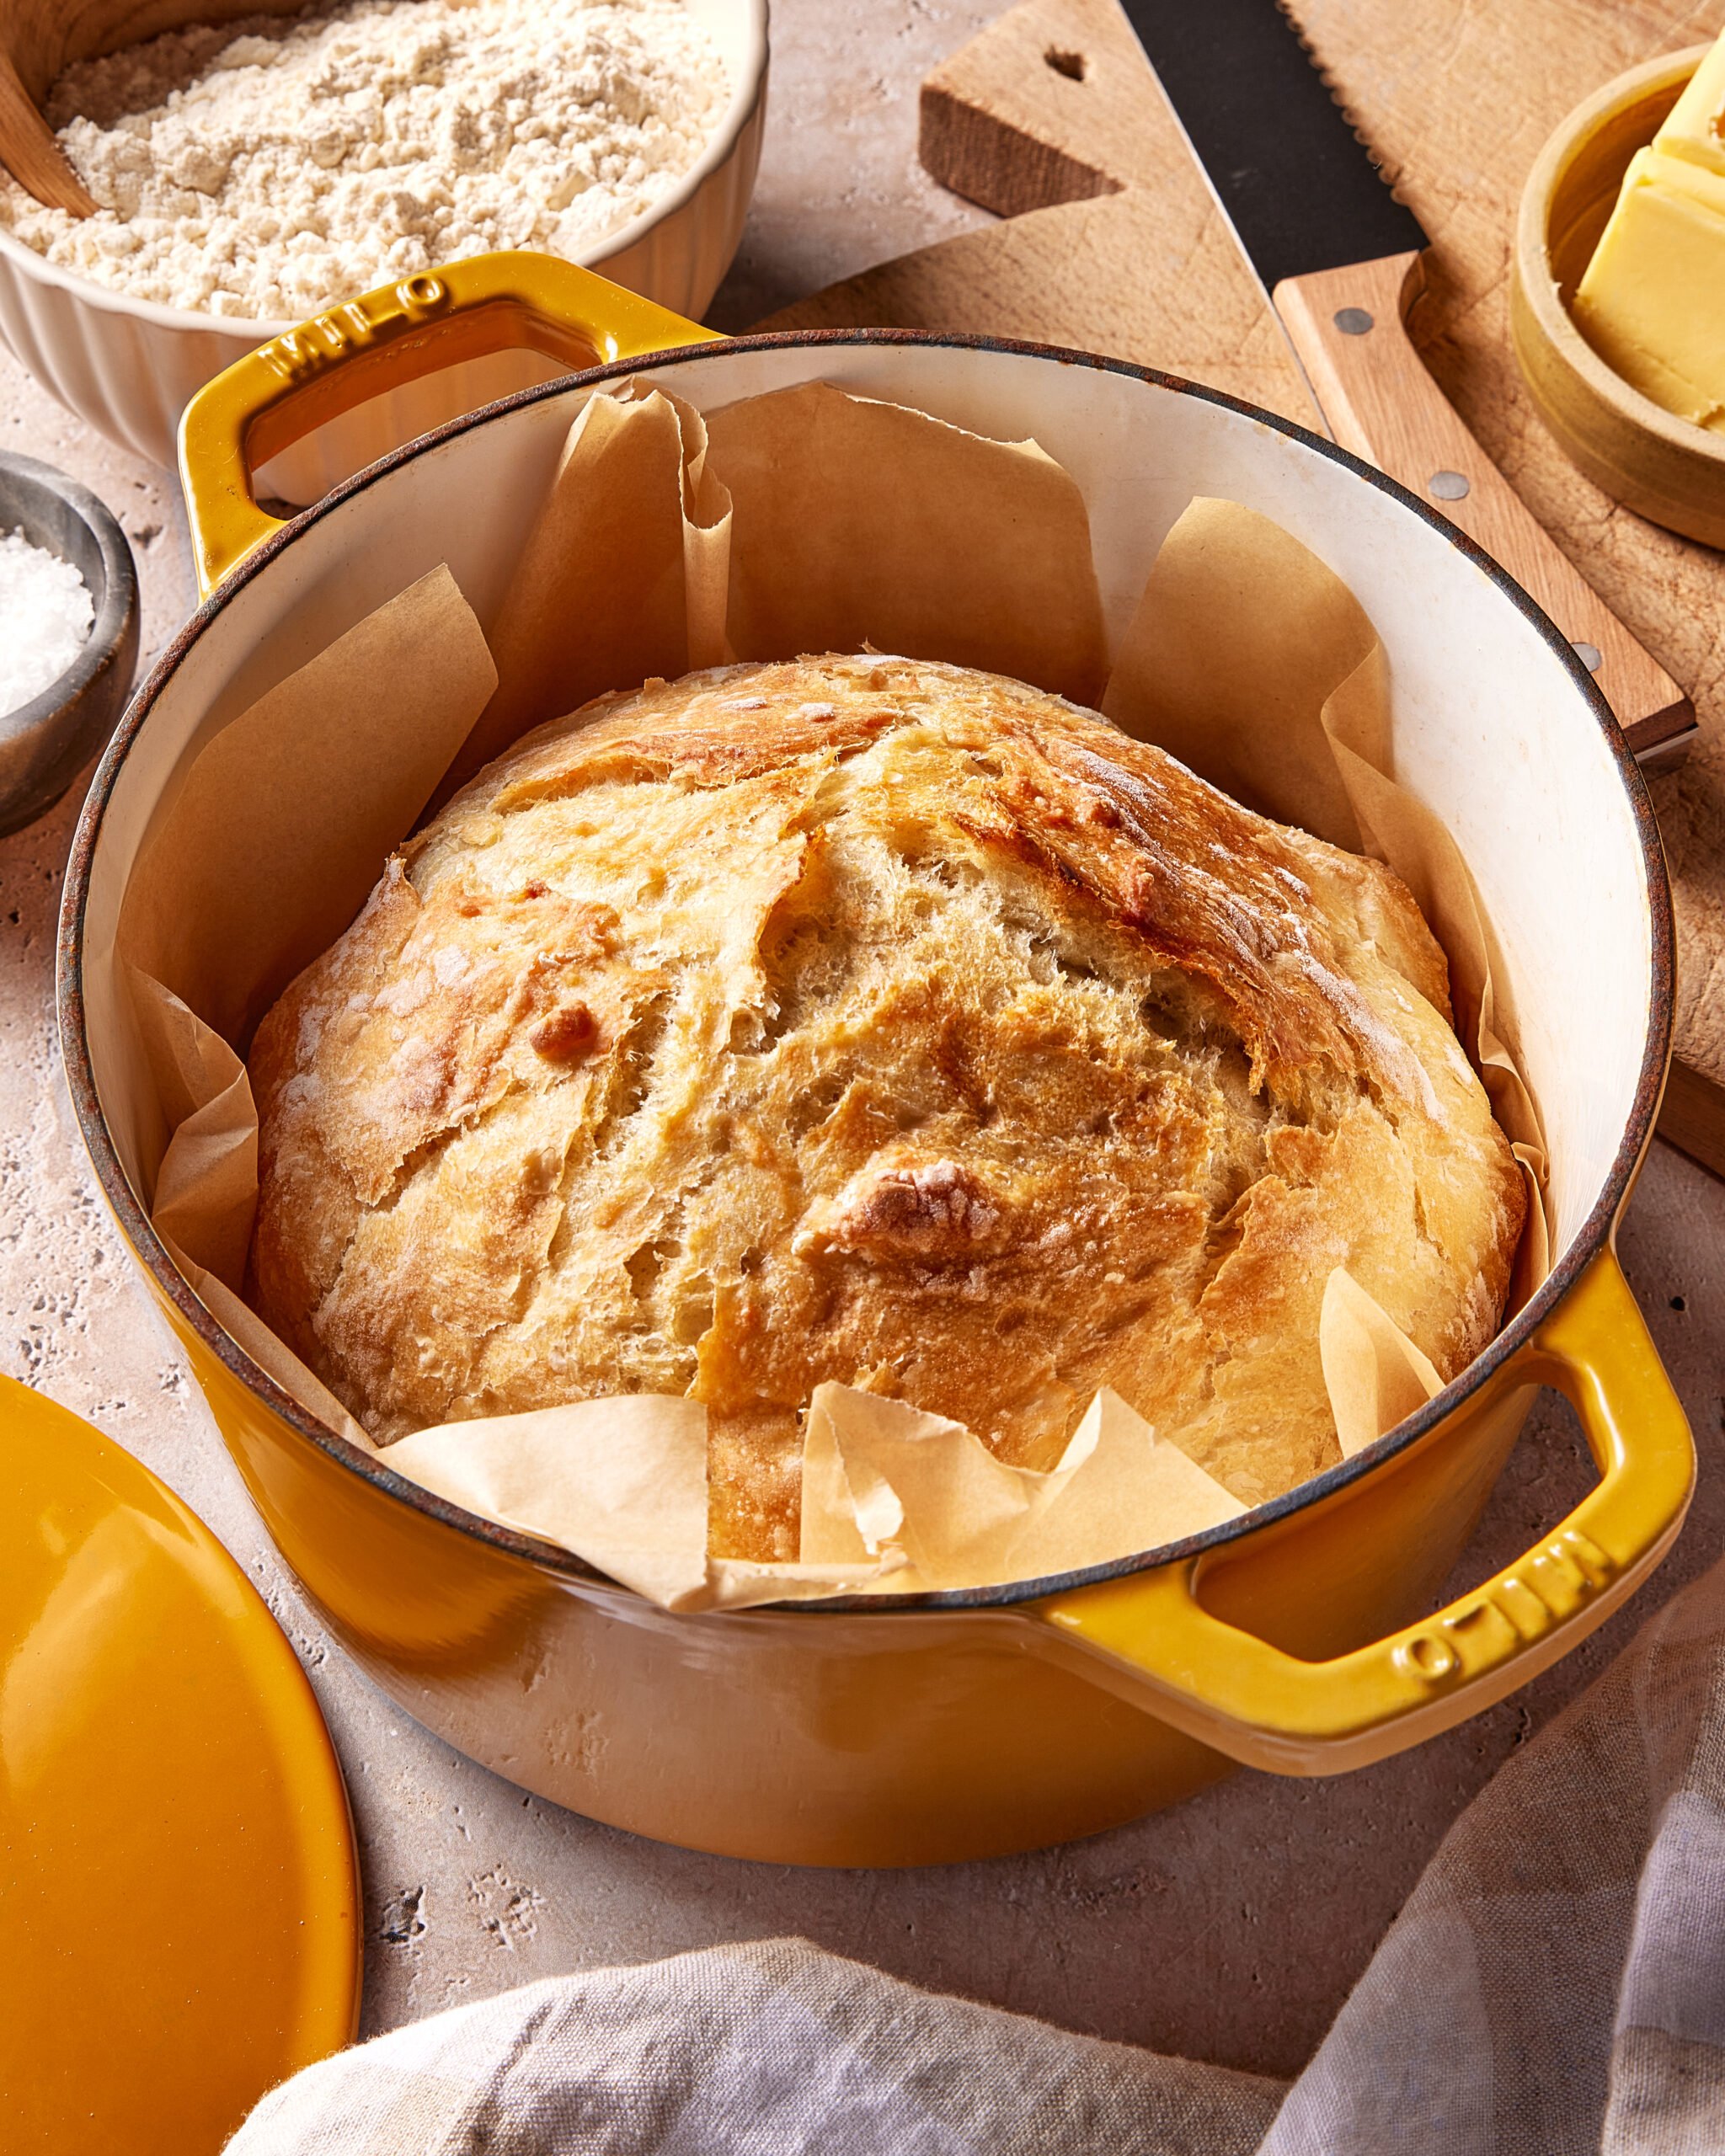
Did you know you can make your own bread with just 2 ingredients and a Dutch oven, in the same day? If you’ve never tried homemade bread before because it seems too complicated or time-consuming, then this recipe is going to change your life. This Same Day 2-Ingredient Bread is crusty on the outside, perfectly fluffy on the inside, and tastes absolutely incredible slathered with good butter and a pinch of flaky salt. And, it couldn’t be easier to make!
Friends, I know what you’re thinking — two ingredients? Yes, really! I tried this method myself and can confirm that it works, and it works perfectly. I’ve actually made this bread two ways: once using regular all-purpose flour and once using a gluten-free flour blend, and both versions turned out amazing. Now, I will say that the regular version produces a much fluffier, airier loaf, while the gluten-free version is denser, but still absolutely delicious. The best part is that the measurements are exactly the same for both versions, so whichever route you take, the process is just as simple. This bread is sturdy, toasts perfectly, and is ideal for sandwiches, avocado toast, or honestly, just eating warm out of the oven.

What You Need to Make This Easy Dutch Oven Bread
- Active Dry Yeast: This is the magic that makes the bread rise and gives it that beautiful, airy texture. You’ll need one standard packet (2 ¼ tsp.). I love using Fleischmann’s!
- Warm Water: Warm water activates the yeast, so it’s important that it’s the right temperature — not too hot, not too cold.
- All-Purpose Flour: You’ll need 3 cups of all-purpose flour to make this loaf. Want to keep it gluten-free? Simply swap in your favorite 1:1 gluten-free flour blend — the measurements stay exactly the same!
- Kosher Salt: Salt is essential for flavor here — don’t skip it! Two teaspoons of kosher salt gives this bread the perfect savory taste.
How to Make This Same Day 2-Ingredient Bread
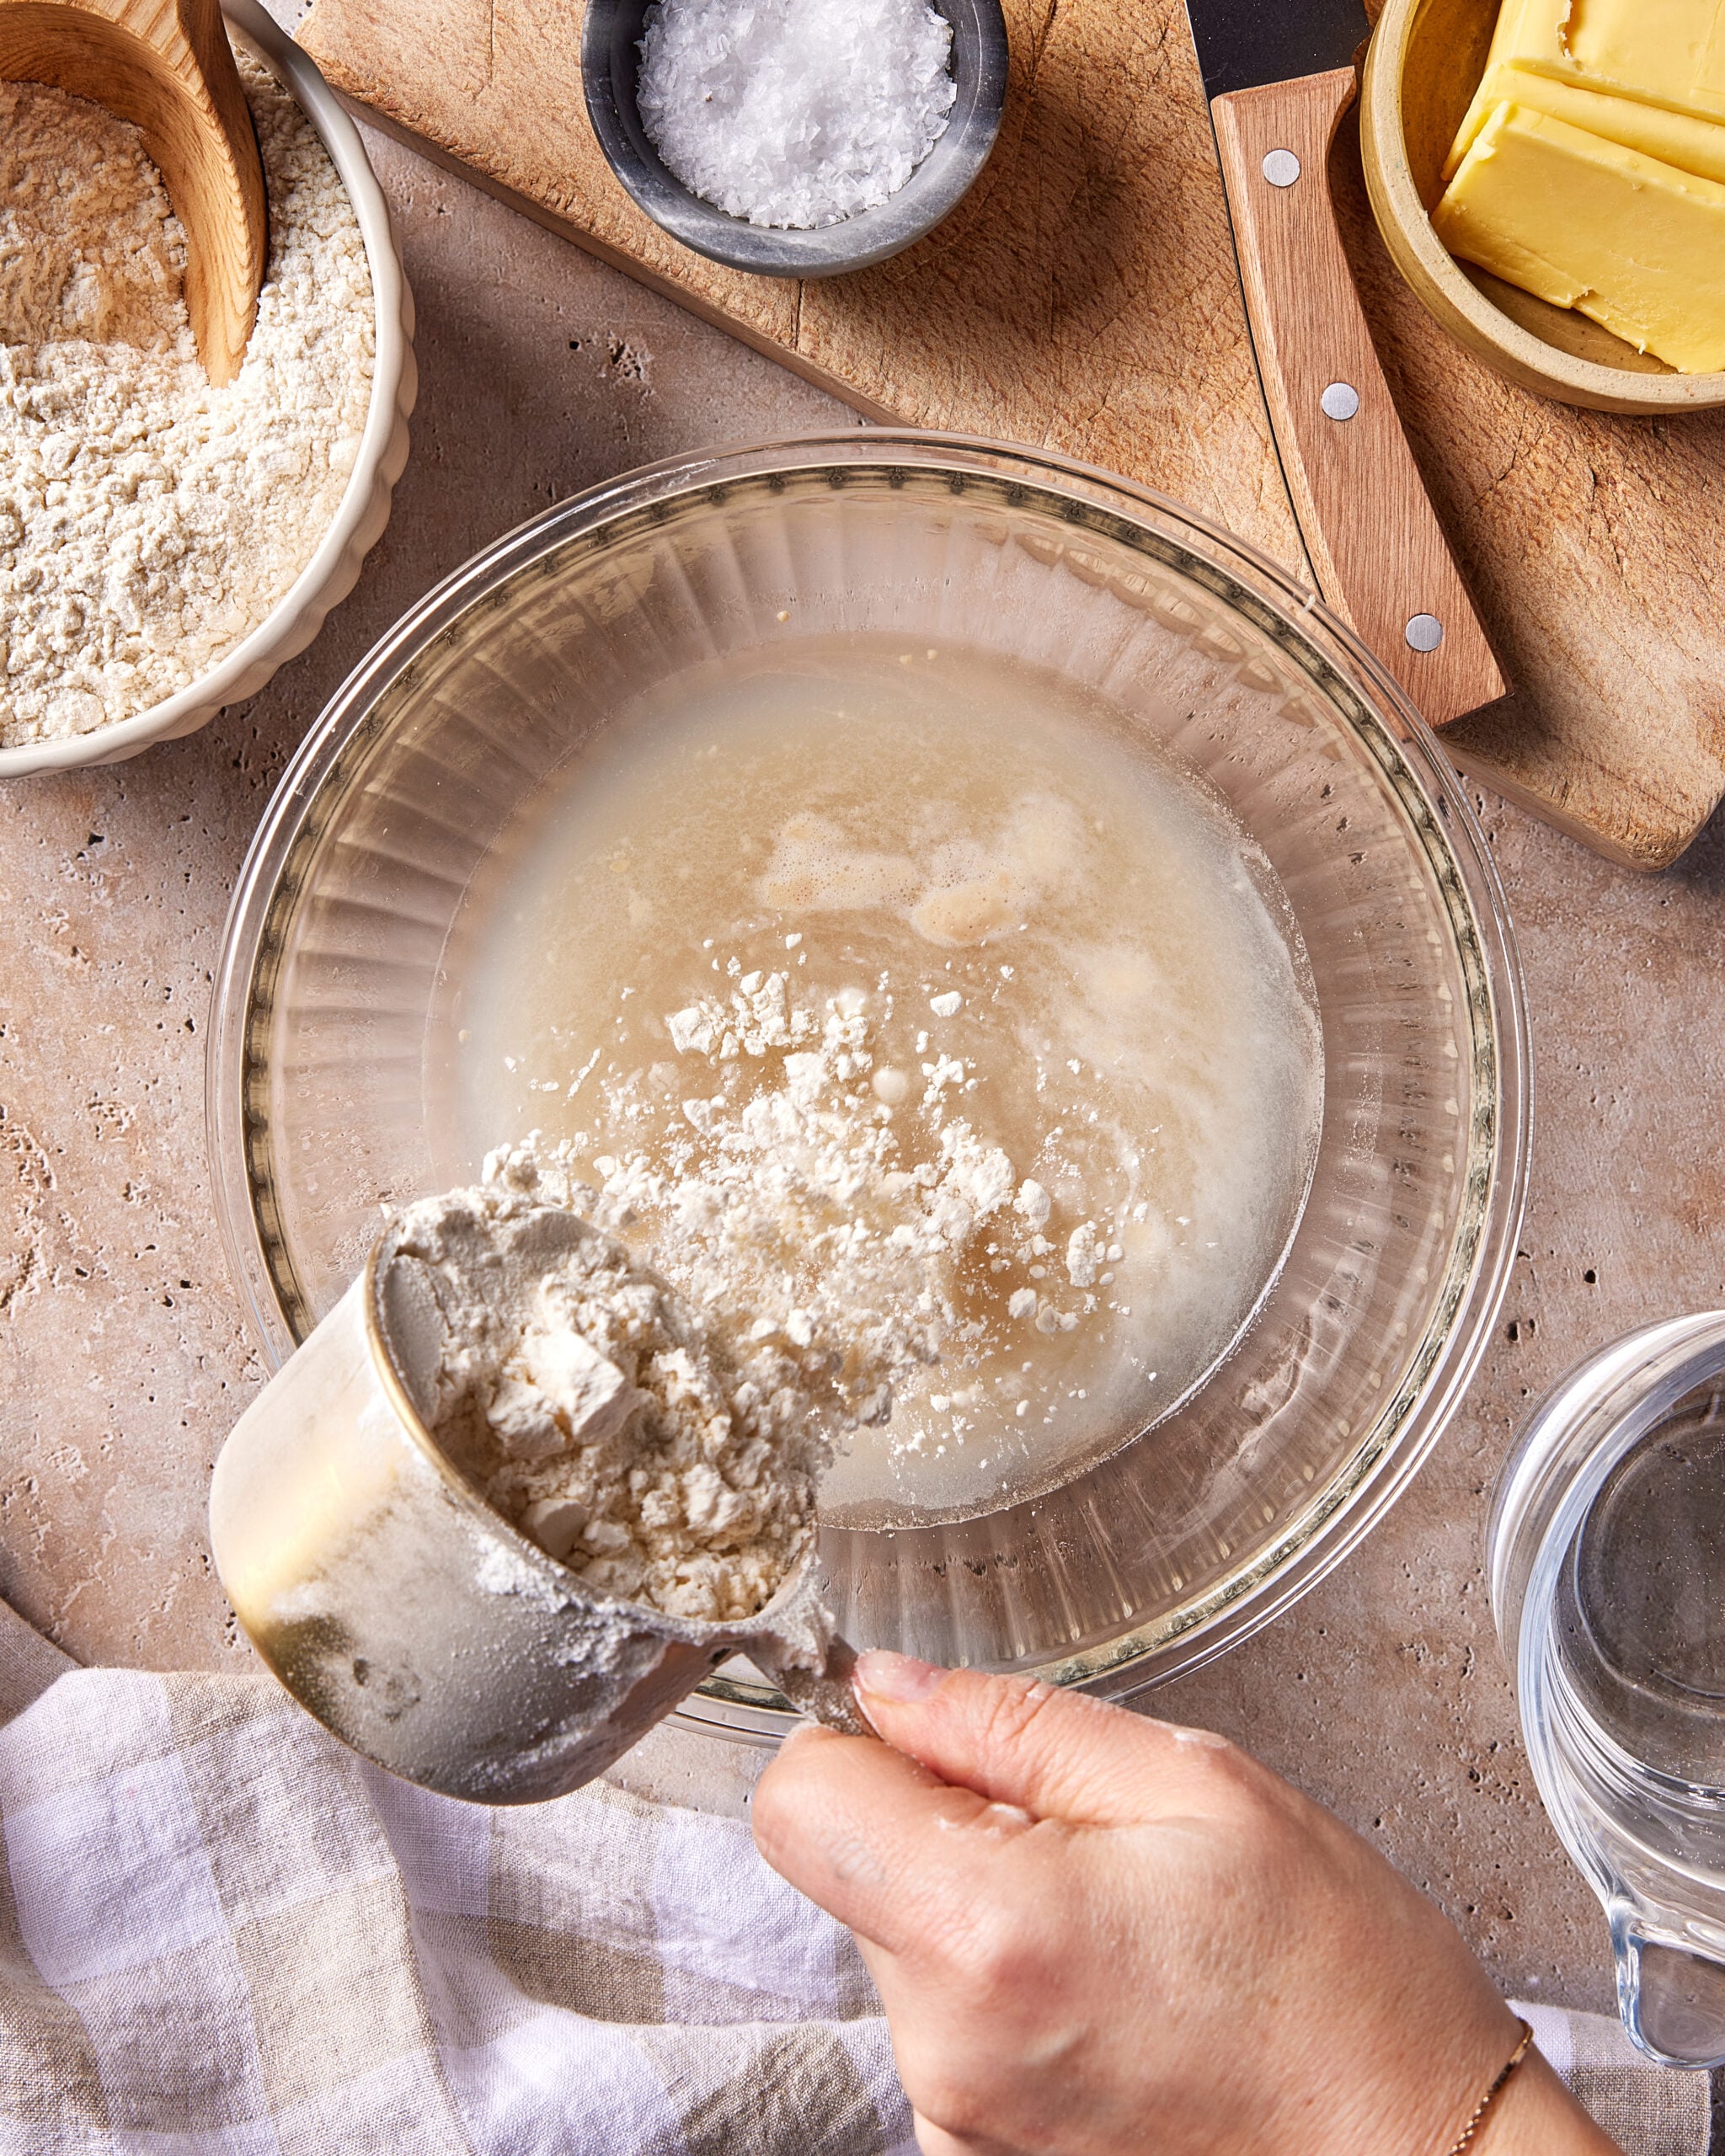
To make this bread, start by activating the yeast. In a large bowl, whisk together the yeast and warm water and allow the yeast to dissolve. Then, add in the flour and salt and mix until everything is well combined. The dough will be quite sticky — that’s totally normal and exactly what you want!
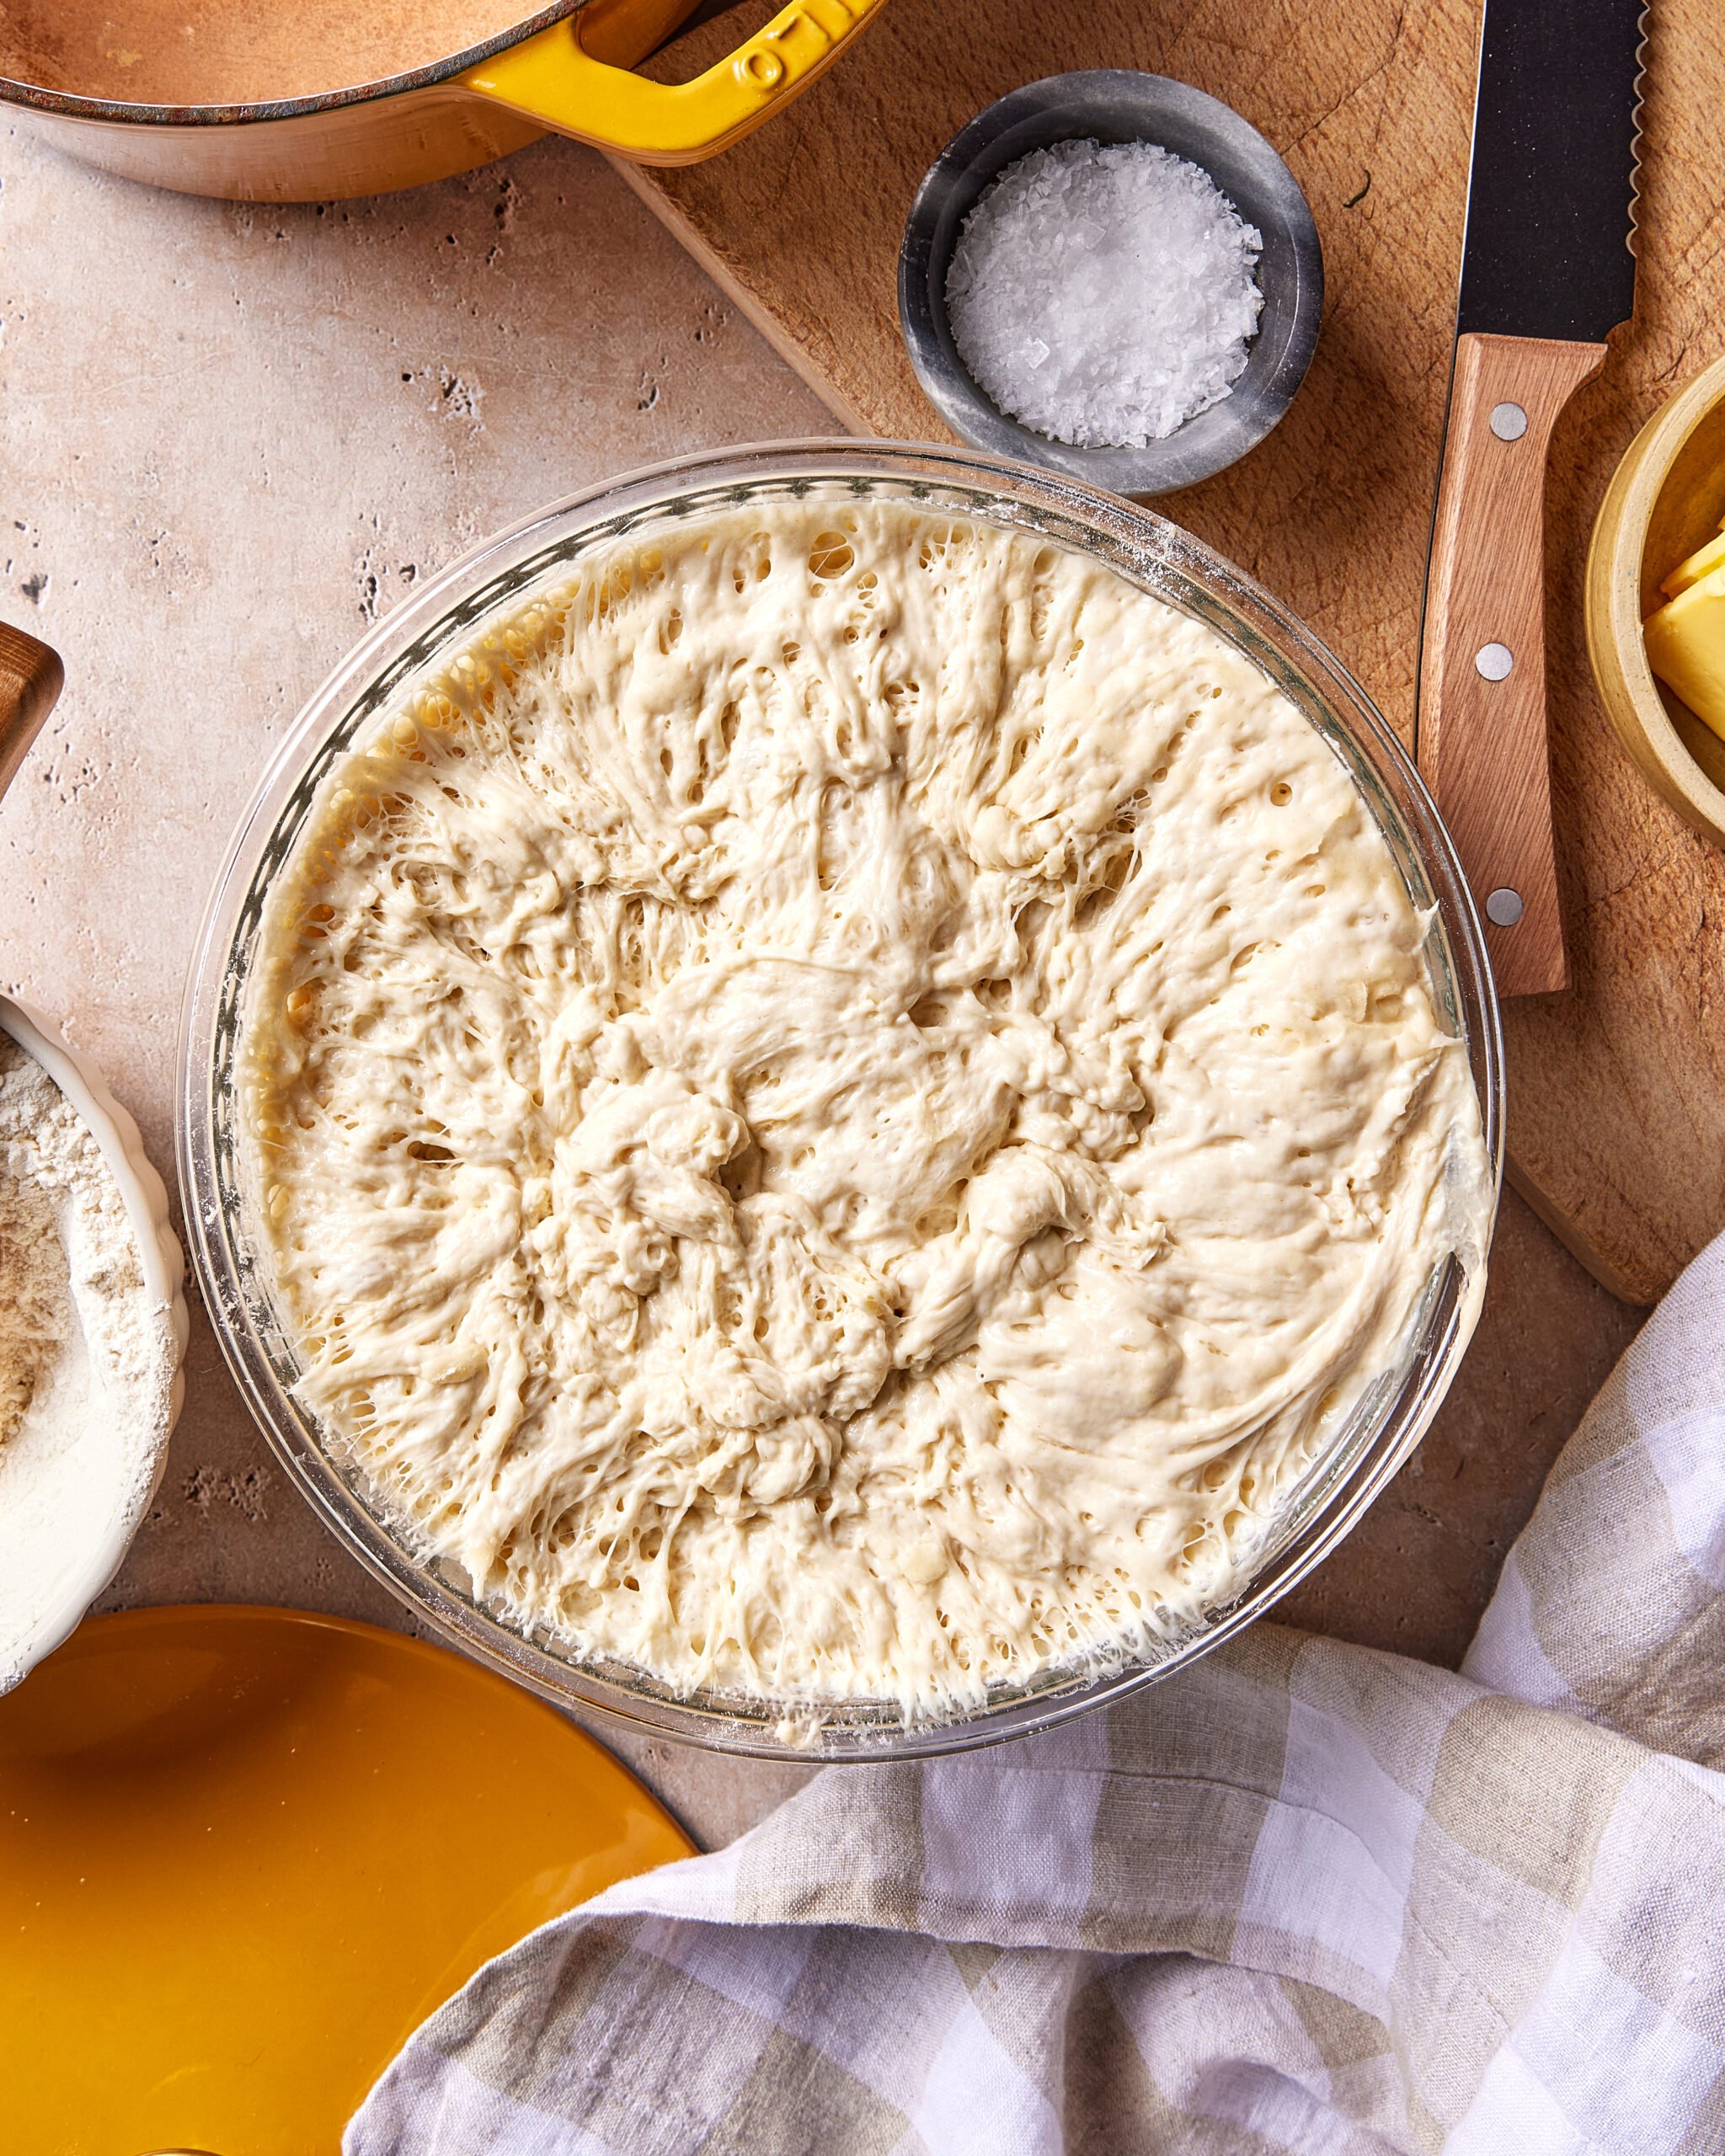
Once the dough is mixed, cover the bowl and place it in a warm spot to rise for two hours. I love setting mine in my oven (turned off!) since it tends to be warmer in there than the rest of my house. When the two hours are up, it’s time to bake! Preheat your oven to 450°F and place your covered Dutch oven inside while the oven heats up — this step is key for getting that crispy crust.
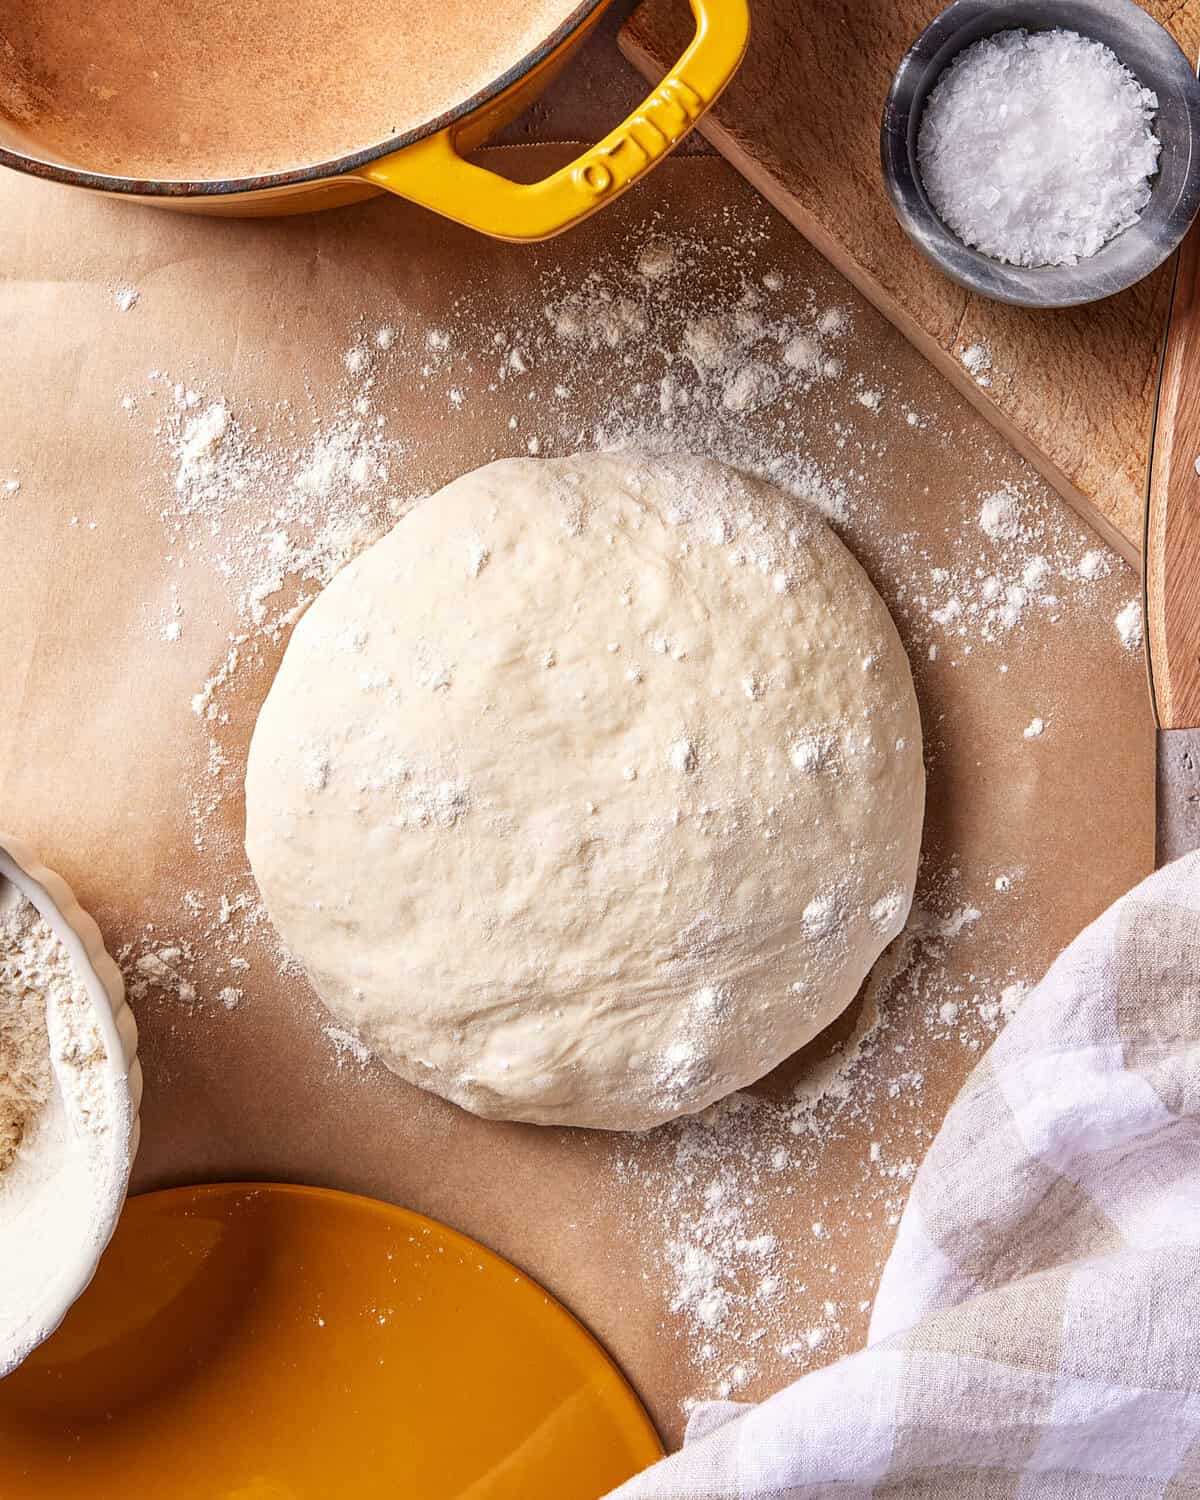
While the oven preheats, flour a piece of parchment paper generously and turn the sticky dough out onto it. Shape it into a ball, using more flour as needed to keep it from sticking to your hands, then score the top in an X shape with a sharp knife.
Carefully remove the hot Dutch oven from the oven, and transfer the dough — parchment paper and all — directly inside.
Cover it with the lid and bake for 35 minutes. Then, remove the lid and bake for an additional 6–8 minutes, until the top is deeply golden and beautiful. Remove the loaf from the Dutch oven, transfer it to a wire rack, and allow it to cool before slicing. Then, slice, slather with butter, sprinkle with flaky salt, and enjoy!
Frequently Asked Questions
Yes! I’ve made this recipe using a gluten-free flour blend and it works great. Just keep in mind that the gluten-free version will produce a denser loaf than the regular version — both are delicious, just slightly different in texture.
Preheating the Dutch oven is what creates that signature crispy, bakery-style crust. The high heat of the hot pot essentially steams the bread from the outside in during the first part of baking, which is what gives it that gorgeous crust.
Store any leftover bread at room temperature, wrapped tightly in plastic wrap or in an airtight bag, for up to 3 days. You can also slice and freeze it for up to 3 months — just pop individual slices in the toaster straight from frozen!
Yes, instant yeast can be used as a 1:1 substitute for active dry yeast in this recipe.
If you make this recipe, please be sure to leave a review and rating below! To see more recipes and behind the scenes, follow along on Instagram, TikTok, and Youtube! I’m also now on Pinterest, so stop by and take a look at what’s new.
** Photography by Tanya Pilgrim
Ingredients
- 2 ¼ Teaspoons Active Dry Yeast, this is 1 packet @fleishmans
- 1 ½ Cups Warm Water
- 2 Teaspoons Kosher Salt
- 3 Cups All-Purpose Flour
Instructions
- To make this bread, start by activating the yeast. In a large bowl, whisk together the yeast and warm water and allow the yeast to dissolve. Then, add in the flour and salt and mix until everything is well combined. The dough will be quite sticky — that’s totally normal and exactly what you want!
- Once the dough is mixed, cover the bowl and place it in a warm spot to rise for two hours. I love setting mine in my oven (turned off!) since it tends to be warmer in there than the rest of my house.
- When the two hours are up, it’s time to bake! Preheat your oven to 450°F and place your covered (empty) Dutch oven inside while the oven heats up — this step is key for getting that beautifully crispy crust. While the oven preheats, flour a piece of parchment paper generously and turn the sticky dough out onto it. Shape it into a ball, using more flour as needed to keep it from sticking to your hands, then score the top in an X shape with a sharp knife.
- Carefully remove the hot Dutch oven from the oven, and transfer the dough — parchment paper and all — directly inside. Cover it with the lid and bake for 35 minutes. Then, remove the lid and bake for an additional 6–8 minutes, until the top is deeply golden and beautiful. Remove the loaf from the Dutch oven, transfer it to a wire rack, and allow it to cool before slicing. Then, slice, slather with butter, sprinkle with flaky salt, and enjoy


Rate & review
SELECT A RATING and tell me what you think!